How to Relight a 3D Interior with Enhance – AI Lighting
Test Enhance – AI Lighting on a 3D-style living room image and compare the effects of painting different lighting regions.
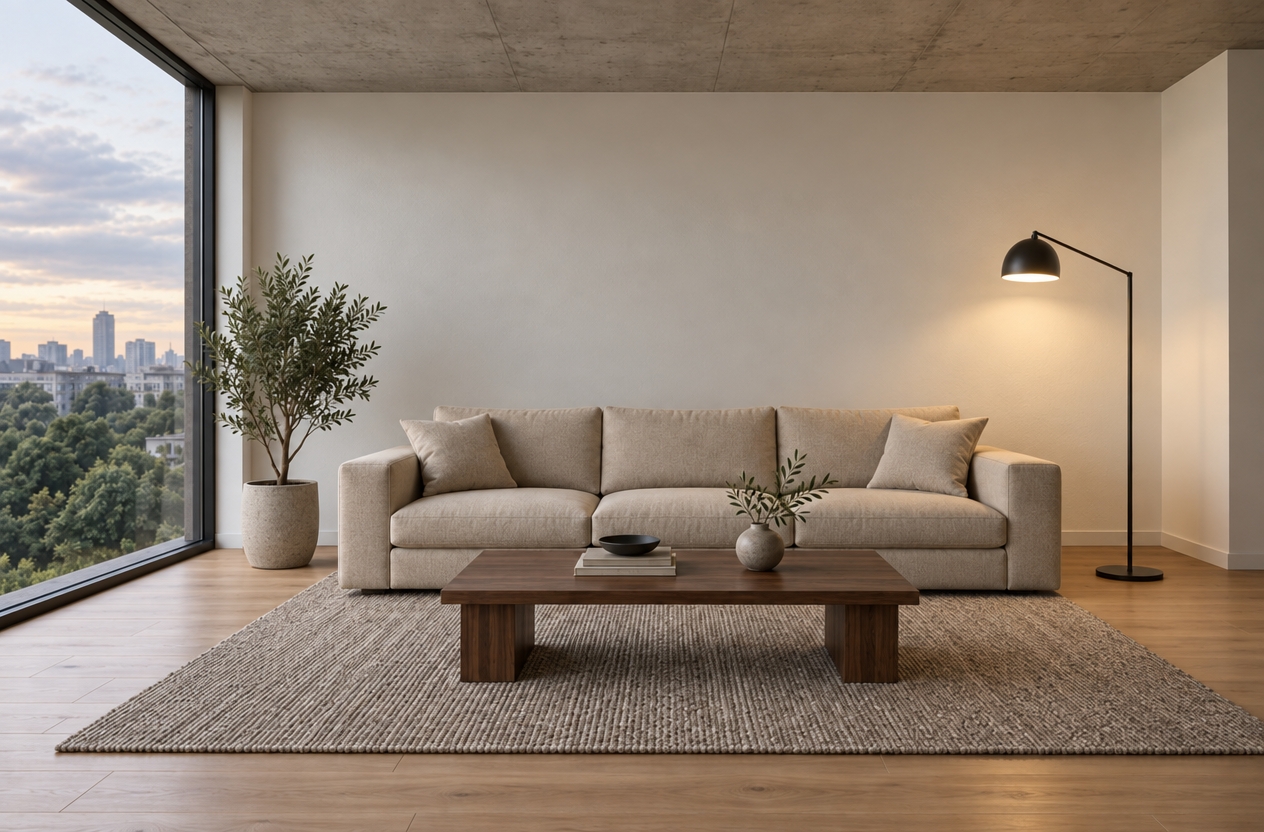
A flat interior image can communicate the design while leaving the space feeling subdued. In this worked example, we use Enhance → AI Lighting to explore three lighting treatments on the same living room.
The updated workflow is simple: upload an image, paint purple where you want light, then submit. In the interface tested on September 14, 2026, there was no prompt field. The examples below use the brush alone.
1. Start with a clear interior image
Our input is an AI-generated 3D-style visualization, rather than an export from an editable 3D model. It has a beige sofa, walnut coffee table, gray rug, concrete ceiling, a window on the left, and an unlit floor lamp on the right.
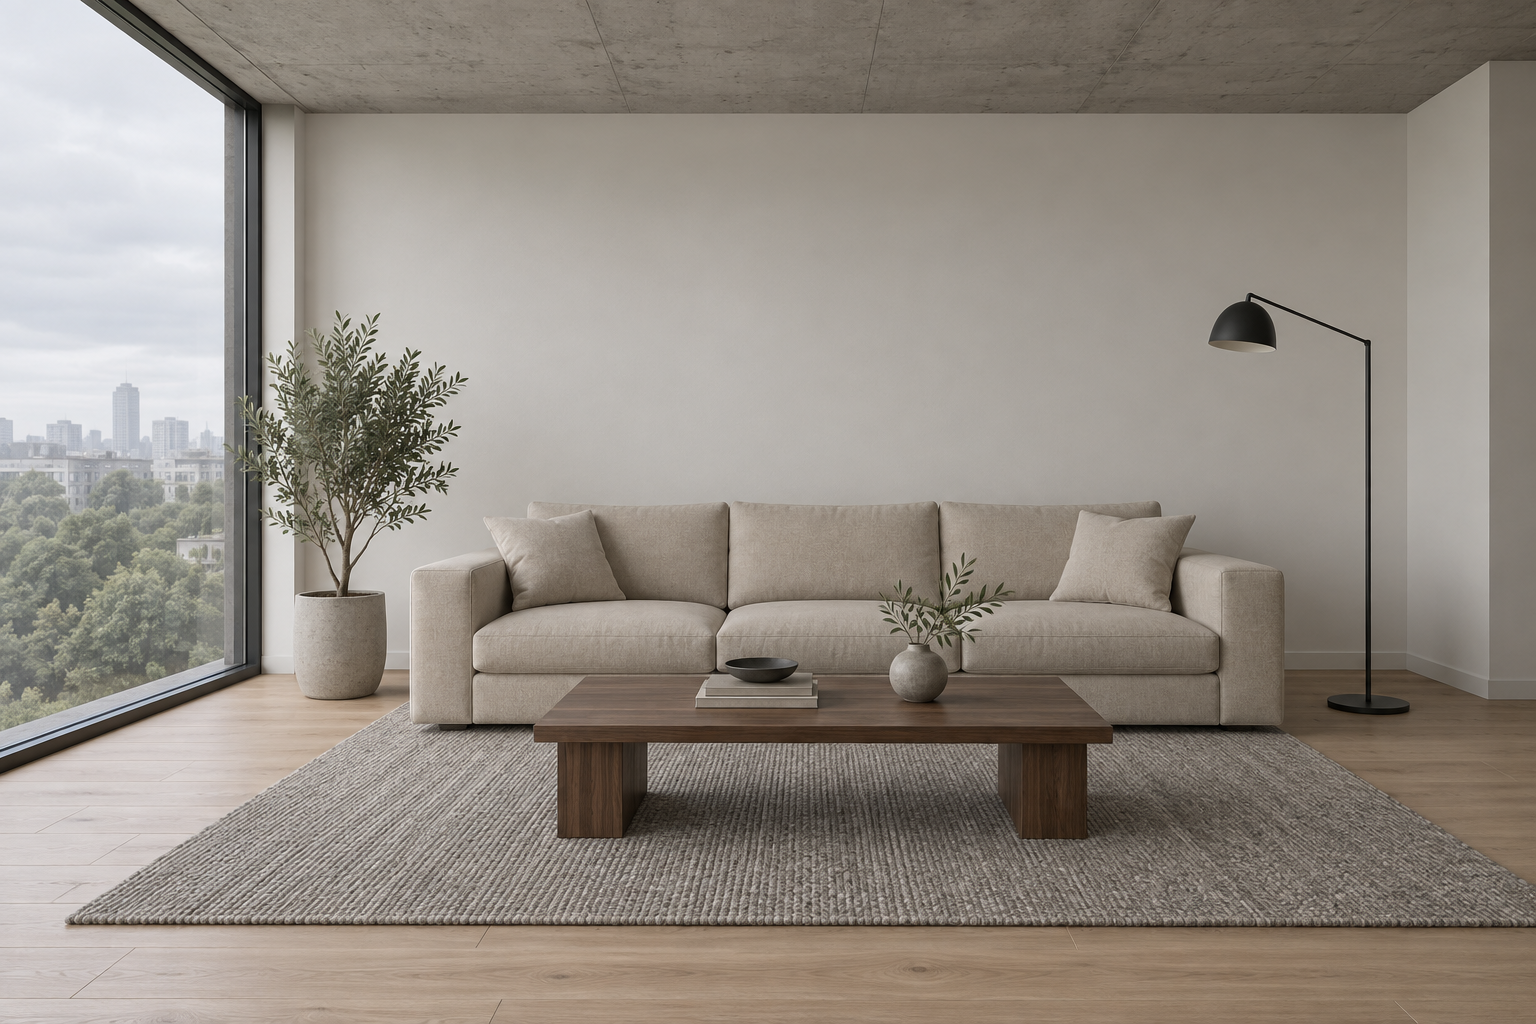
Original input: subdued daylight, a blank wall, and clearly defined furniture.
We kept this original for every run, so earlier lighting edits did not accumulate. The source was 1536 × 1024; the generated results displayed 1264 × 832. Each submission returned four variations. We compare the first variation from each run below; this is a small worked example, not a reliability benchmark.
2. Upload and paint a lighting region
Open Enhance → AI Lighting, then choose Upload Image. The page lists JPG, JPEG, and PNG support. After uploading, use Brush to paint a purple mark. Adjust Brush size if needed, use Eraser to remove part of a mark, or Reset to clear it.
We left brush size at 48 for all three tests. Submit was disabled until a mark was present. Click Submit and wait for the Light Up result page. Inspect the thumbnails to compare alternatives, then use download to save your choice.
3. Test A: a horizontal wall accent
We painted one horizontal stroke on the blank wall above the sofa.
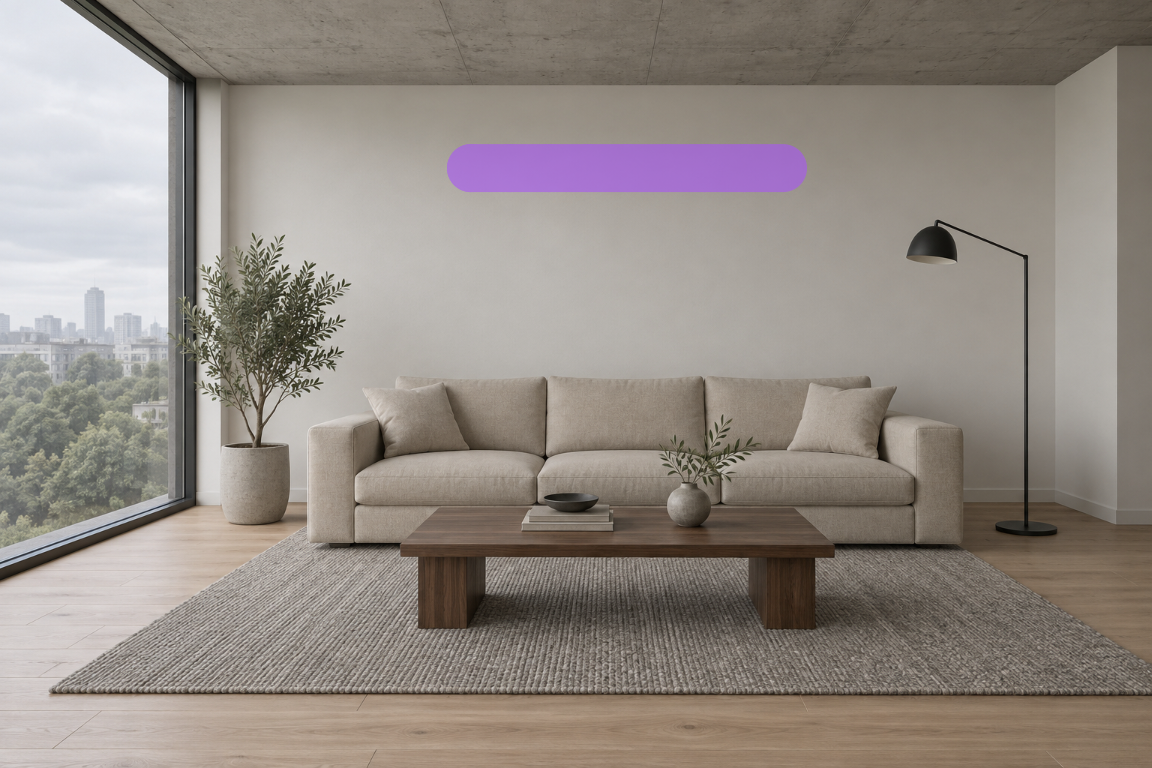
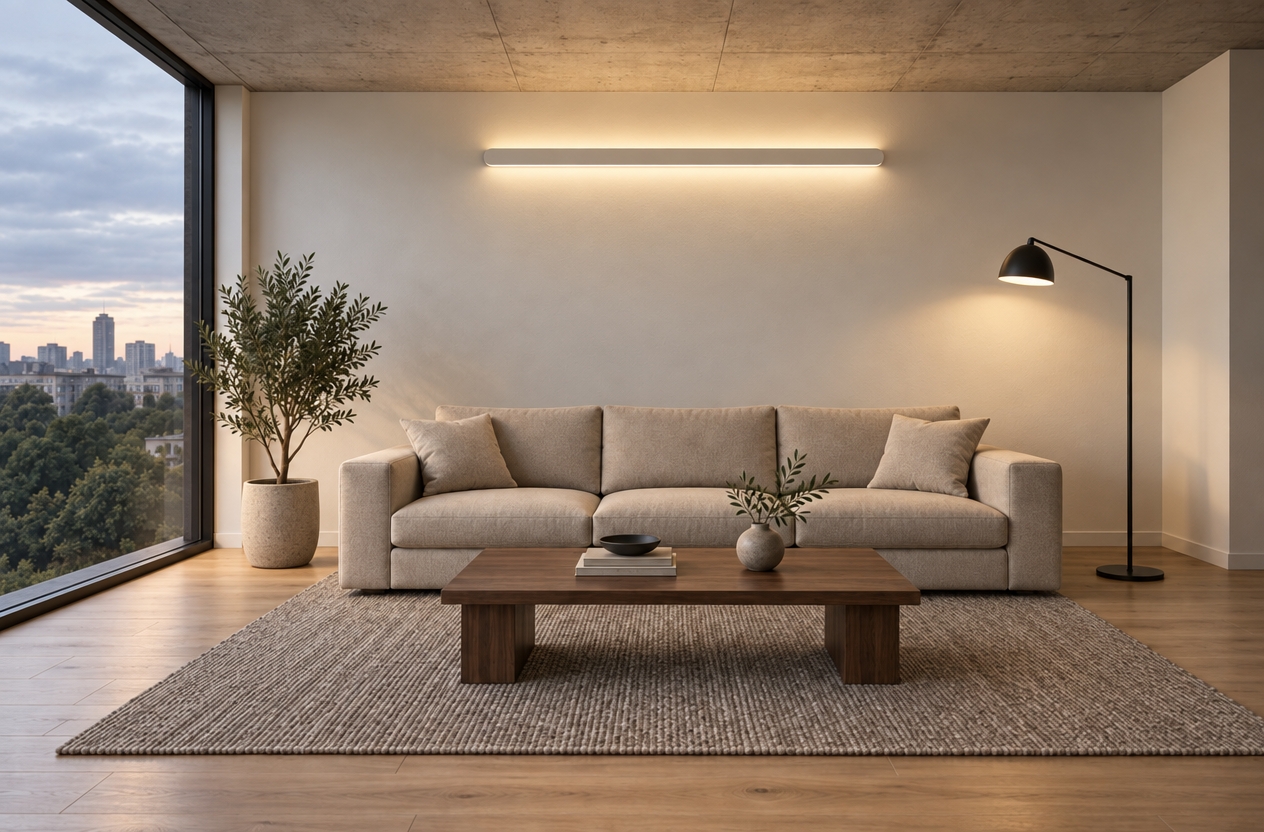
The first result added a warm linear wall fixture where the stroke had been drawn. It also illuminated the existing floor lamp and shifted the exterior toward dusk. The sofa, table, window, and main room arrangement remained recognizable.
What this shows: a painted mark can suggest a new light source. It does not guarantee a simple brightness adjustment to the existing wall.
4. Test B: illuminate the existing lamp area
Starting again from the original, we painted a short vertical stroke over the floor-lamp shade and the wall immediately below it.
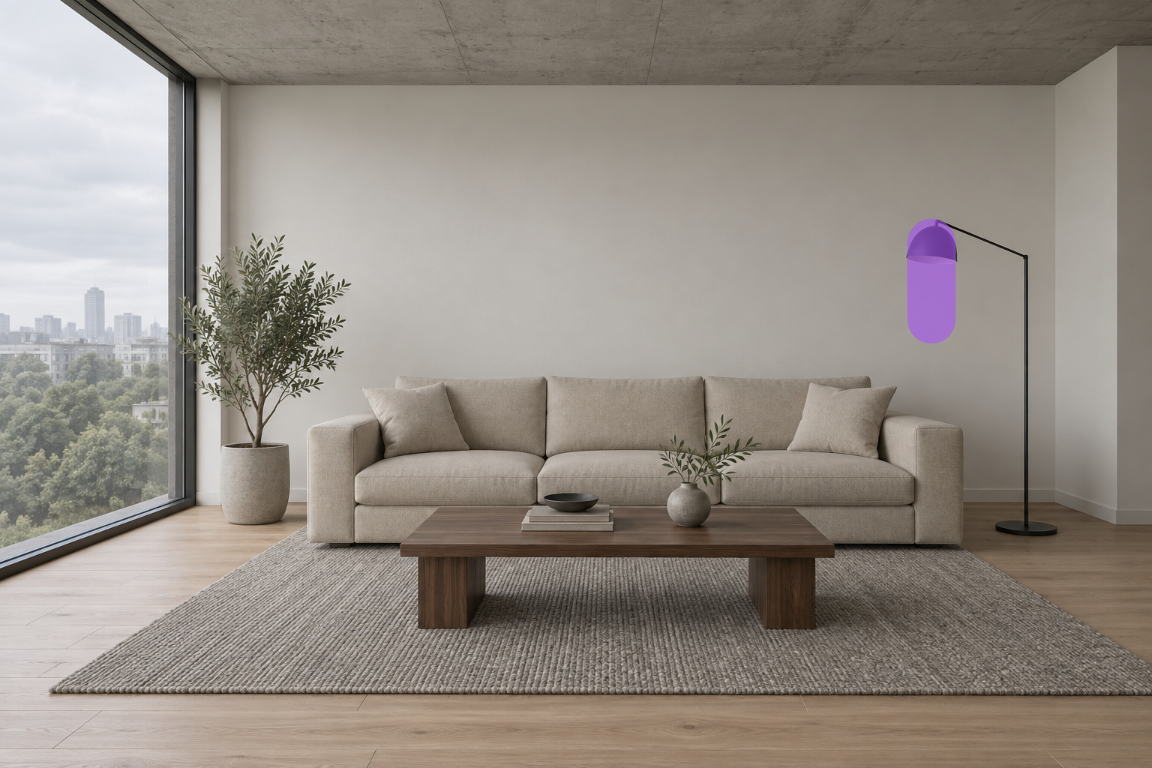
The first result lit the existing lamp and created a warm pool on the wall and right side of the sofa. It did not add the horizontal fixture seen in Test A. This was the most restrained of the three selected outputs, although the exterior sky, textures, and overall lighting still changed.
What this shows: marking an existing light source gave a useful starting point for a focused accent in this example.
5. Test C: brighten the sofa corner
For the third run, we marked the right sofa cushion and seat area on the original image.
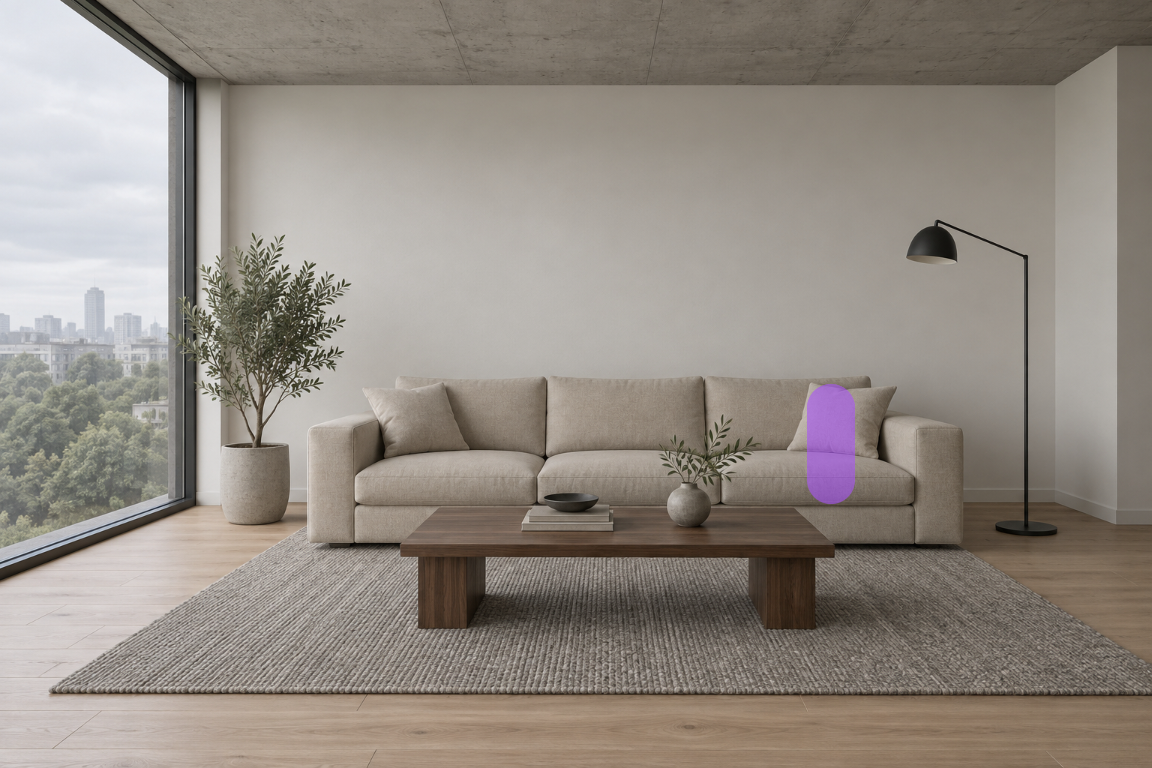
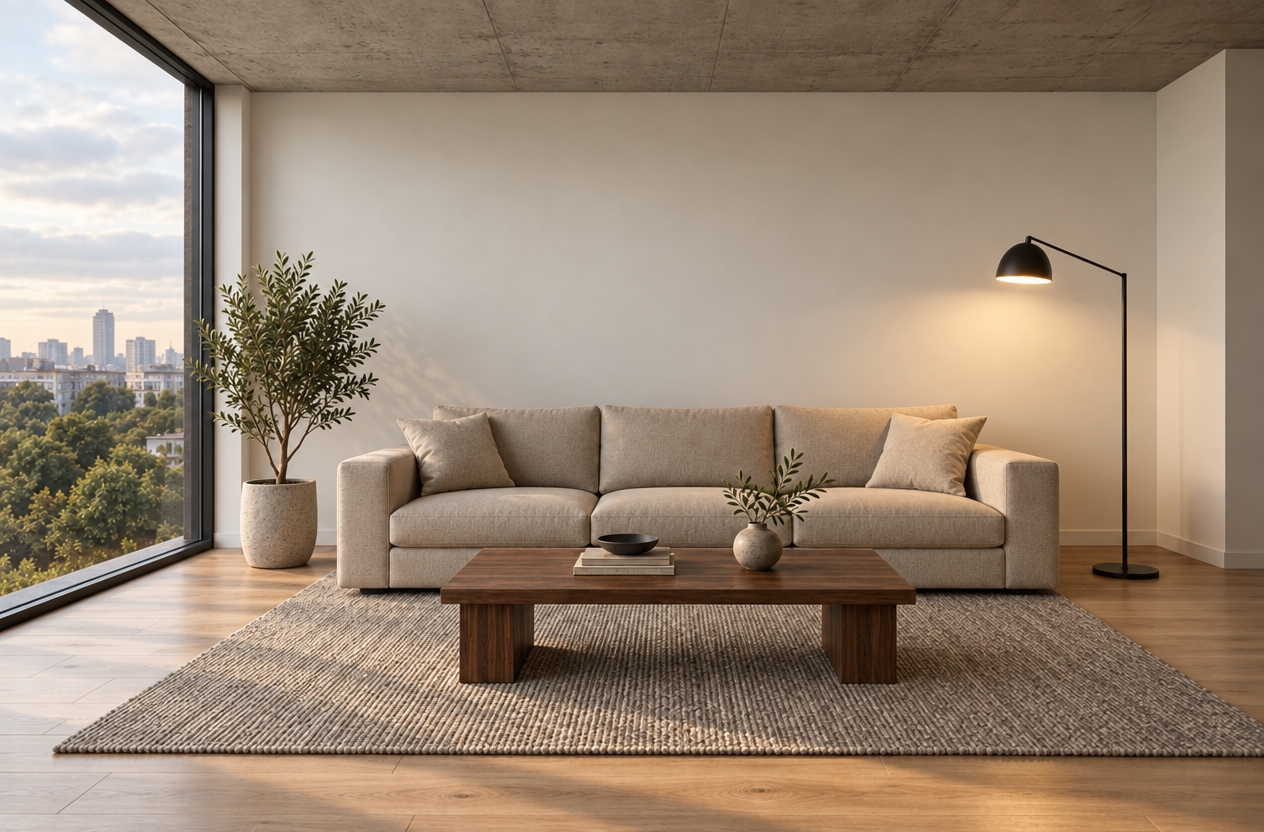
The first output brightened the seating area and turned on the lamp. It also introduced stronger sunlight and broad shadows across the rug and floor. The change extended well beyond the painted cushion.
What this shows: painting a darker surface can lead the AI to reinterpret the room's wider illumination.
6. Compare the design as well as the light
| Painted region | Observed first result | Main limitation |
|---|---|---|
| Wall above sofa | New linear wall light and warmer evening atmosphere | Added a fixture and changed the wider scene |
| Existing lamp area | Lit lamp with a warm wall accent | Exterior and material detail still changed |
| Right sofa area | Brighter seating, lit lamp, stronger daylight | Broad floor and rug shadows outside the mark |
All three selected outputs retained the main furniture arrangement and architectural composition. Fine details were not identical: cushion contours, plant leaves, textures, and the exterior view varied. Treat the purple mark as guidance for lighting, rather than a boundary that guarantees everything outside it stays untouched.
For your own project, start with one clear lighting intention and a small mark. Compare each output with the original at full size, checking fixture additions, window edges, furniture shapes, color shifts, and shadow direction. For this room, the lamp-area result is our preferred first option for a subtle accent; the wall treatment is useful when exploring a new lighting fixture.
โพสต์ที่เกี่ยวข้อง
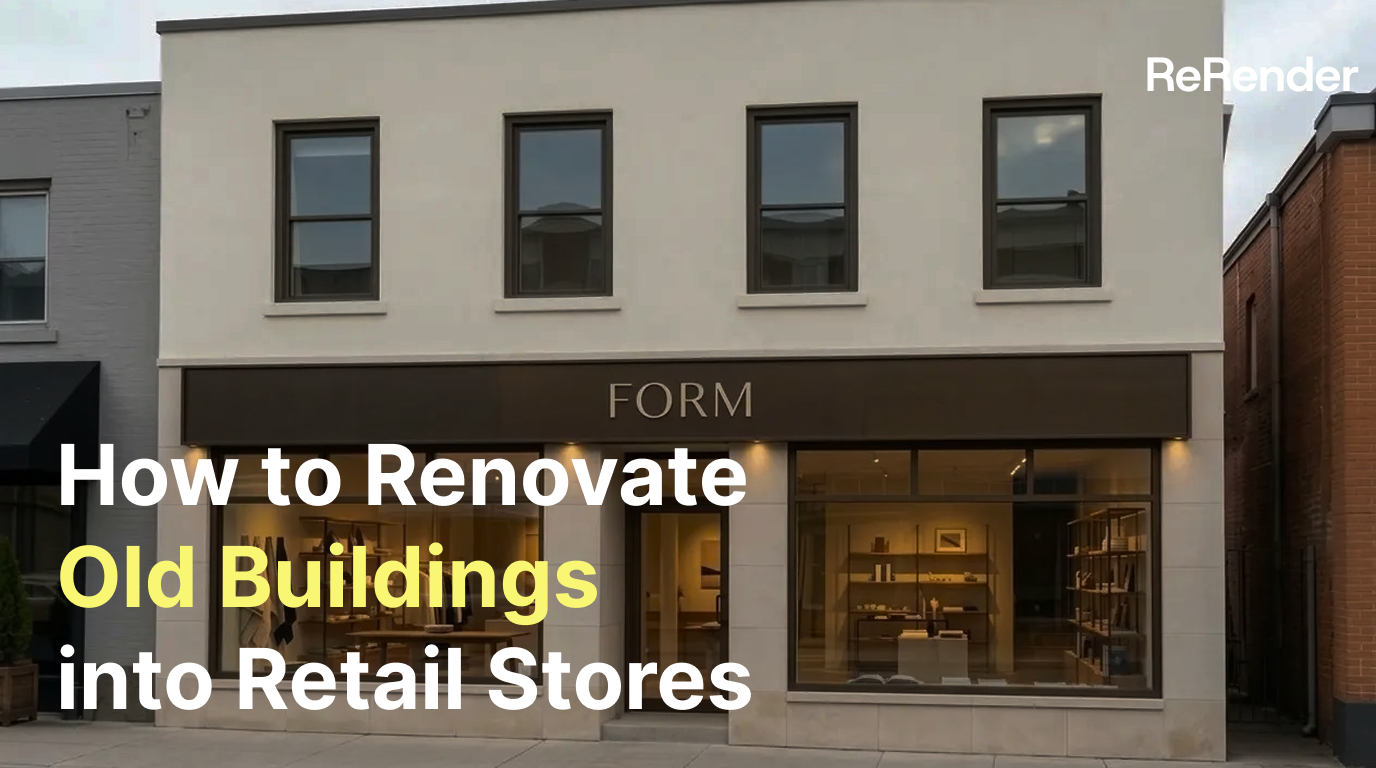
Renovating an Old Building into a Modern Retail Store with AI
Turn a tired building exterior into a clear retail renovation concept. Follow the Home workflow with Nano Banana 2, preserve the original form, and refine facade materials, windows, signage, and lighting.
Willy·14 ก.ย. 2569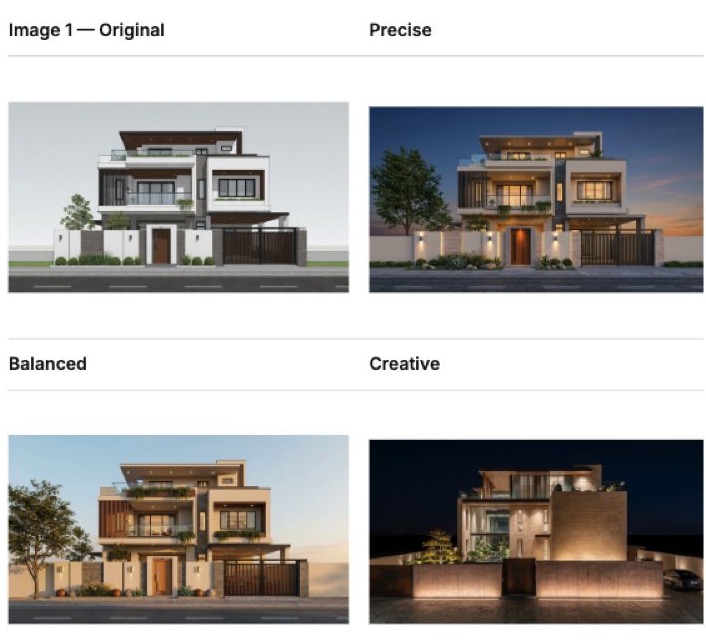
วิธีใช้งานเรนเดอร์: เปรียบเทียบโหมดแม่นยำ สมดุล และสร้างสรรค์
ภาพเริ่มต้นภาพเดียวกับโหมดเรนเดอร์สามโหมด ทำตามขั้นตอนการทำงานทั้งหมดและดูว่าแต่ละโหมดตีความบ้านหลังเดียวกันนี้อย่างไร
Willy·8 ก.ย. 2569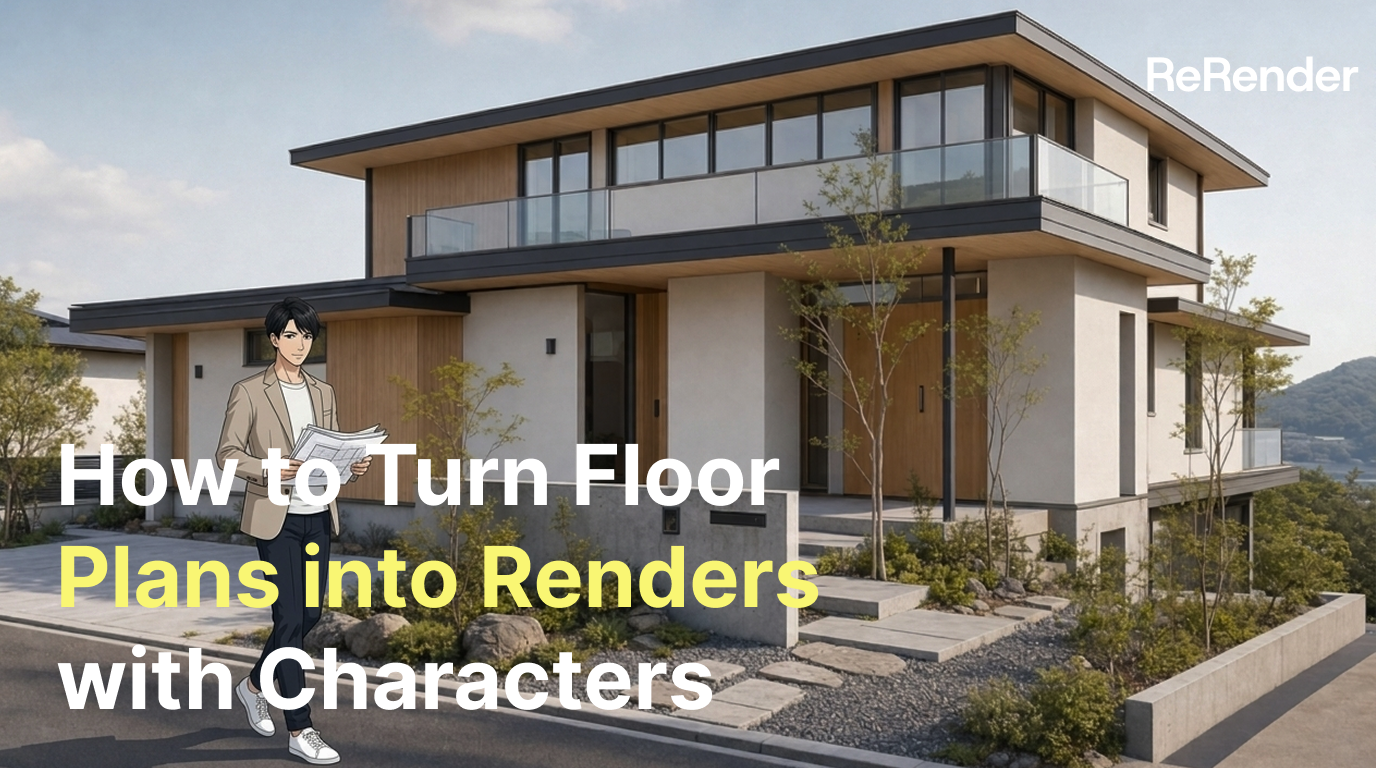
วิธีเปลี่ยนแปลนพื้นให้เป็นภาพเรนเดอร์พร้อมตัวละคร
ใช้ ReRender AI เพื่อสร้างภาพเรนเดอร์ภายในและภายนอกอาคารจากแปลนพื้น รูปด้าน และรูปตัดทางสถาปัตยกรรม เพิ่มตัวละคร และเปลี่ยนให้เป็นแอนิเมชันสถาปัตยกรรม
Willy·8 ก.ย. 2569